Materials Needed:
- Cutting mat
- Rotary cutter
- Quilting ruler
- 16” or more zipper
- Pins
- Thread that matches your fabric
- 4 fat quarters of print fabric that go well together
- Lining fabric 12” LOF
- batting (thin).
- ¼” foot and walking foot, sewing machine.

From the fat quarters you will cut the following:
- Two rectangles of 14 ½” x 10” for the external part of the pouch
- From the other printed fabrics, cut one rectangle of 5” x 12” from each, for the pocket
- Cut 2 rectangles of 14 ½” x 10” for the lining

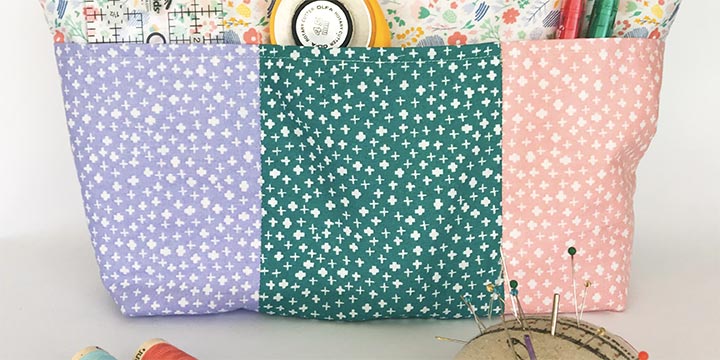
For the external pocket: join the three 5” x 12” rectangles on the long side. Put them right sides together, pin and sew a straight line with the ¼” foot.


Once you have sewn the three rectangles, press the seams open. Then fold in half and put right sides together. Sew a seam with the ¼” foot to then turn right sides out, you will have something that looks like a “tube”.
You will leave this tube pressed, flat, and then you will top stitch on one of the long sides. You will then set it on the right side of one of the pouch’s rectangles. You will line it at 2 ¼” from the top.


Once it is in the right position, you will pin all around and sew on the rectangle’s joining seams, this is how you will create the separate areas in the external pockets.
You will now sew on the bottom and sides of the pocket, to reinforce and close the pocket.

Seam to create pocket dividers

Bottom seam to close the pocket

Side seam to reinforce


We will now join together the external parts of the pouch (one has a pocket) with the lining, each pair separate. We will sew on the long side at the top, which is where the zipper will go.
Once joined only on the external part of the pouch, both the part with and without the pocket, we will add the batting and we will quilt a couple of straight lines, to secure the batting. Be careful not to go over the pocket.


Once quilted, we will pin each side on the top to the zipper, we will sew one side, then the other.


Once both parts are sewn to the zipper, we will join the linings together and then, the exteriors together, putting them right sides together. The zipper must be open halfway. Pin all around the rectangle.


We will sew all around the edge, leaving a gap open at the bottom of the lining.
Once we finish that, we will create the flat bottom for our pouch. We will draw lines at the 4 corners (2 in the lining and 2 in the exterior of the pouch). We will draw the lines with a pencil at 1 ½” from the corner, and we will then sew on each line.


We will next trim the corners to reduce bulk.


Then, we turn the pouch right side out.
We close the opening in the lining with the machine or by hand and voila!
I hope you enjoy it!! I want to see pictures of your finished pouches!
Don’t forget to tag me.
Hugs
Caro


