
Materials:
- Cutting mat
- Rotary cutter
- Patchwork ruler
- Pins
- Sewing thread
- Synthetic cotton to fill
- 1/4” foot
- Sewing machine
- 9 squares of fabric for the background of 2’’ on each side
- 9 squares of color fabric of 1 1/2” on each side
- 2 rectangles of 5” x 2 3/4” of th same background fabric
Preparing the squares: we will put each one of the background squares with a color square, aligning them in a corner, right side with right side. Then, we will mark, with a ruler and a pen, the diagonal of the smallest square and pin it to make the stitching ON TOP of the mark. We will cut the excess fabric at a distance of 1/4” of the seam and we will iron it. We will do this process for the 9 pairs of squares.


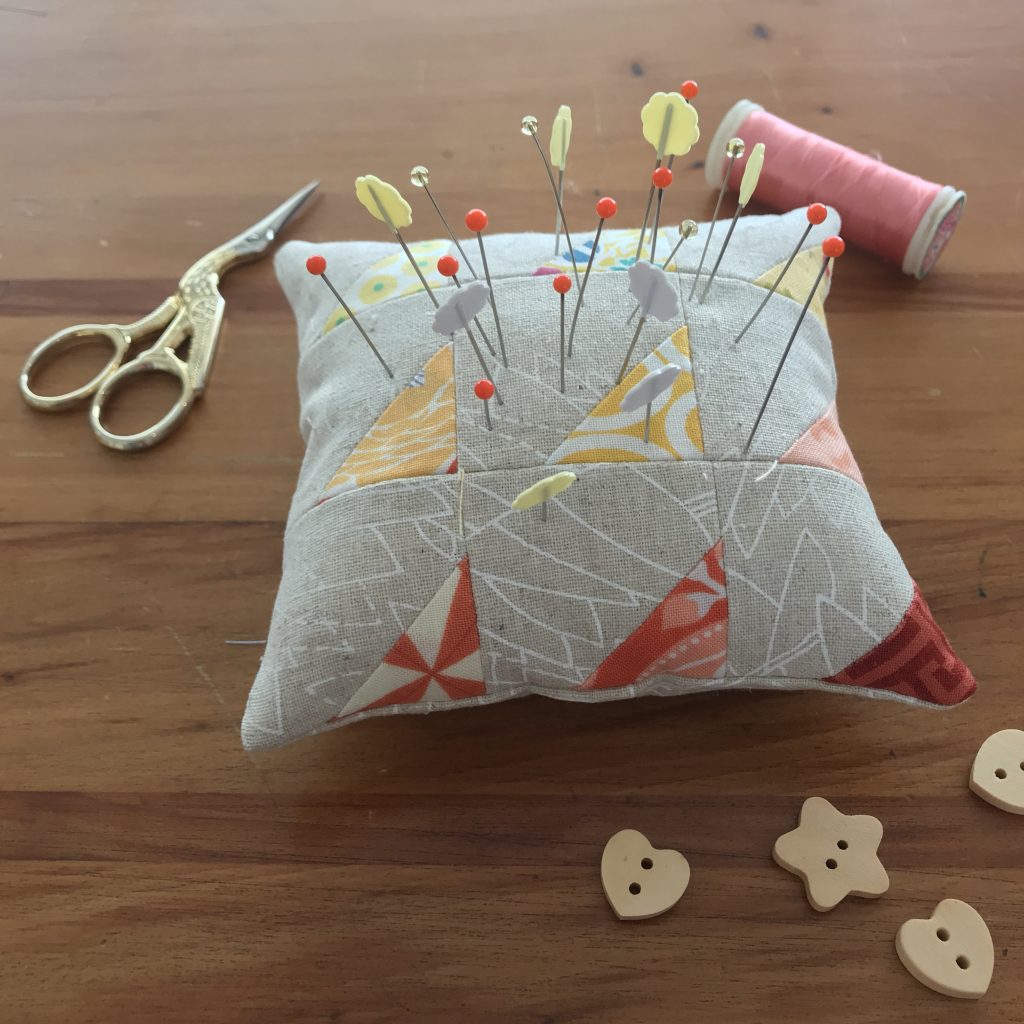
The making of the rows: we will put the squares however we want, it can be ordered or randomly (as you can see in the pictures, I did it in order!).
First, we will make 3 rows of 3 squares each, that we will later sew together. All of the sewings have to be done with the 1/4” foot that will allow us to keep a constant margin of sewings in all of our work and like that we will make everything to fit perfectly and look beautiful!
We will put squares together and sew them. We will iron all of the open sewings. Like that, we will make our three rows.


Putting together the rows: here the key is pinning everything correctly!! When putting the rows together I make the sewings face each other and I pin them in each side. We will sew again with the 1/4” foot and iron all of the open sewings.


Making the back part: for this, we will sew both of the rectangles together, from the 5’’ side, leaving an open space of 2’’ app in the center, we will finish at both ends of the opening, and iron open seams.


Closing and filling: we will put the base and the back part together right side with right side, and we will close all of the square with the 1/4” foot, we will cut the excess of the corners. After that, through the opening we left in the back part, we will turn it inside out and then, we will fill it and close it with an invisible stitch.


Now you have a beautiful pincushion! And if you enlarge the measurements of the squares you have the perfect pattern to make a pretty cushion! Or a bag or anything you imagine!!!
A hug to each one of you,
Caro