

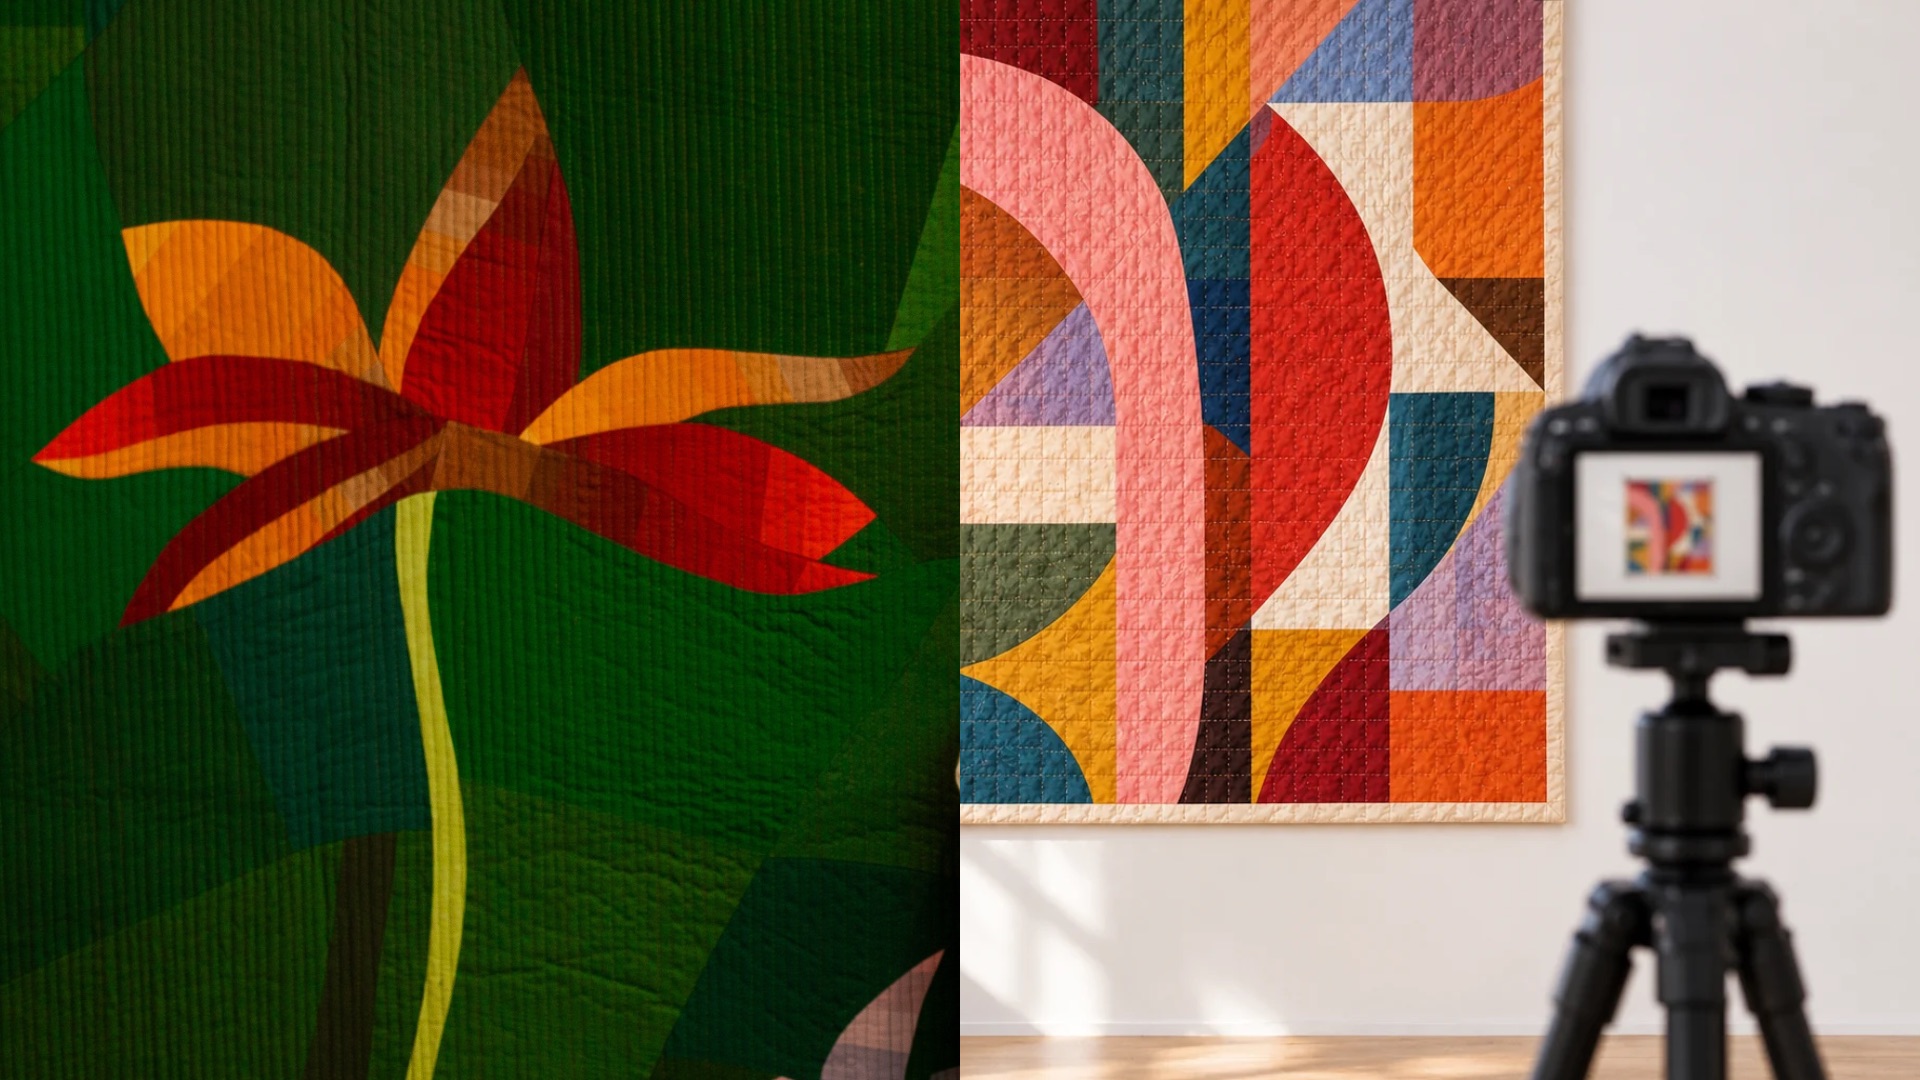
Knowing how to photograph a quilt for a show submission matters more than most of us would like, because for most juried shows the first thing a juror sees is not your quilt. It is a photograph of your quilt. Everything you spent months building reaches the jury as one or two images on a screen. I wrote a section on this in my guide to preparing a quilt for exhibition, and I wanted to go further here, using what SAQA, AQS and Quilting Daily recommend. I’m not a professional photographer, so I’ve gathered guidance from the people who write the rules for these entries.
Light Comes First
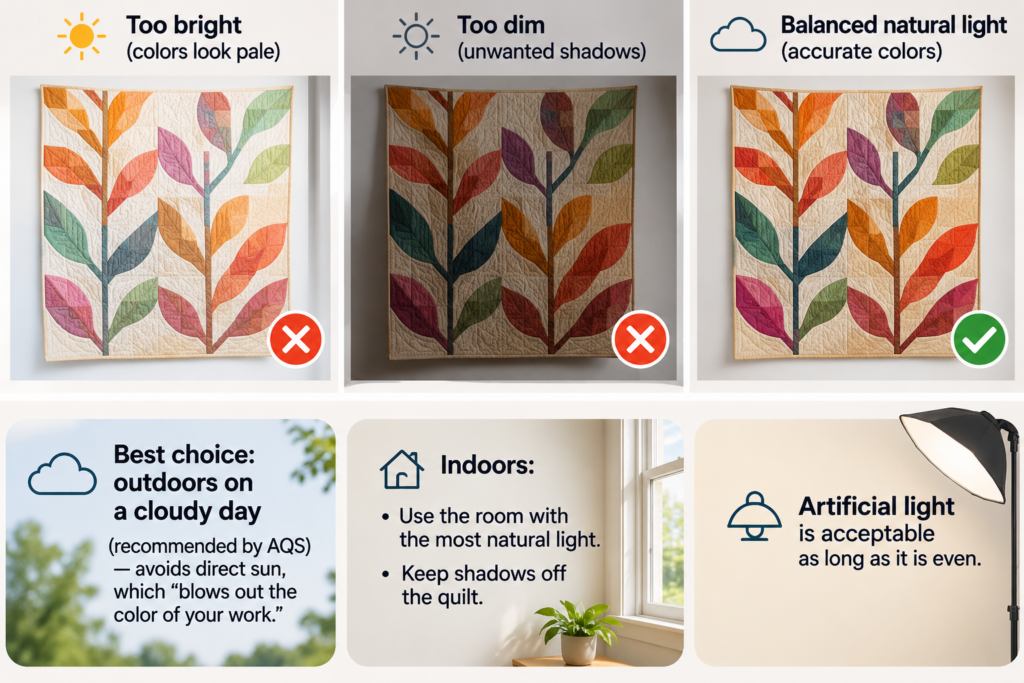
Lighting is where most of the advice starts. SAQA’s tips for art quilt photography, written by Lynn Krawczyk, says natural light can show accurate colors if you choose a time when sunlight is not too bright and not too dim. Too bright and colors look pale, and too dim and you get unwanted shadows. Artificial light is acceptable as long as it is even.
AQS’s photography suggestions go further and recommend shooting outdoors on a cloudy day, because direct sun “blows out the color of your work.” If you are indoors, use the room with the most natural light and keep shadows off the quilt.
The idea underneath both is the same: you want the photo to show the colors the way they look in the room, with no shadows across the surface and nothing washed out.
A Plain Background
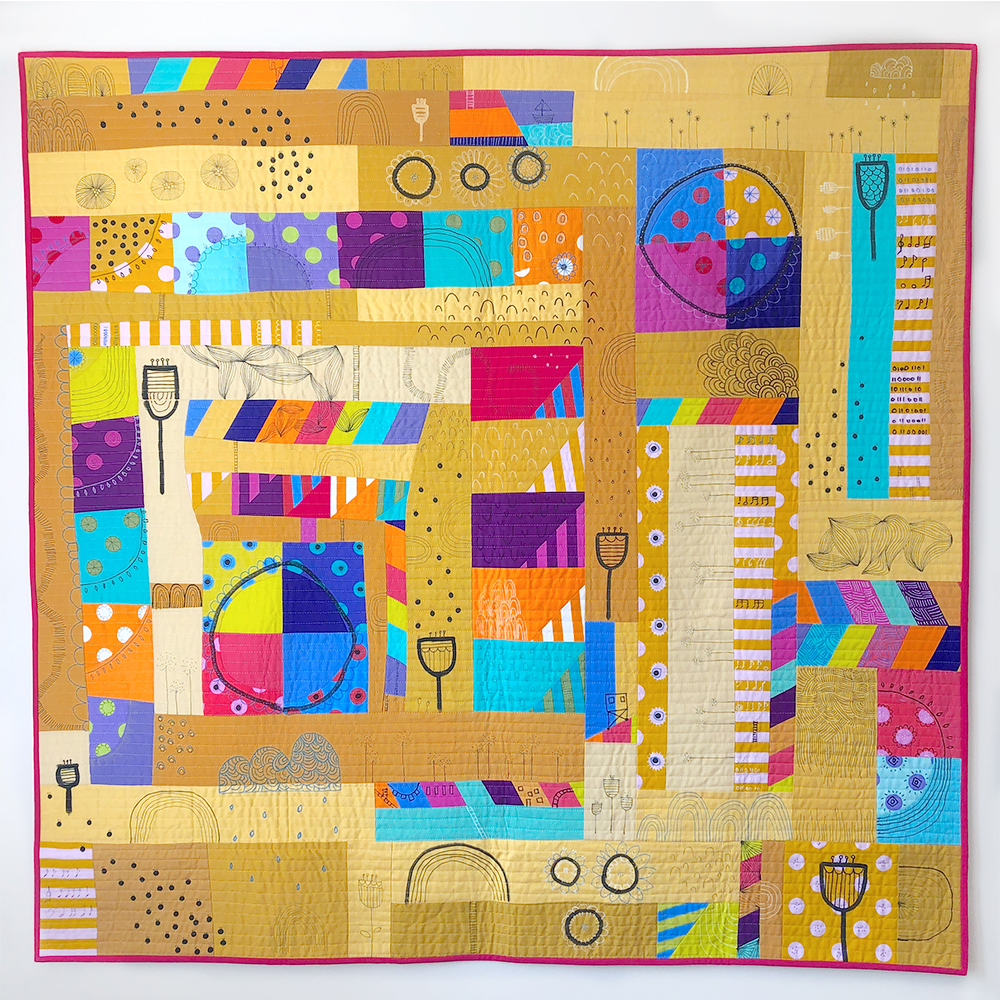
SAQA recommends a neutral, solid background, such as white, black, grey or beige, with no patterns and no other objects, and a color that is different from the edges of the quilt so the edge doesn’t disappear. Quilting Daily’s seven tips for photographing art quilts, by Vivika DeNegre, suggests pressed muslin or a white sheet if you need to make one.
Think about your own quilt when you choose. A quilt with a pale edge will disappear against a white wall, and a dark edge will vanish against black.
Hang It Straight, Shoot It Straight
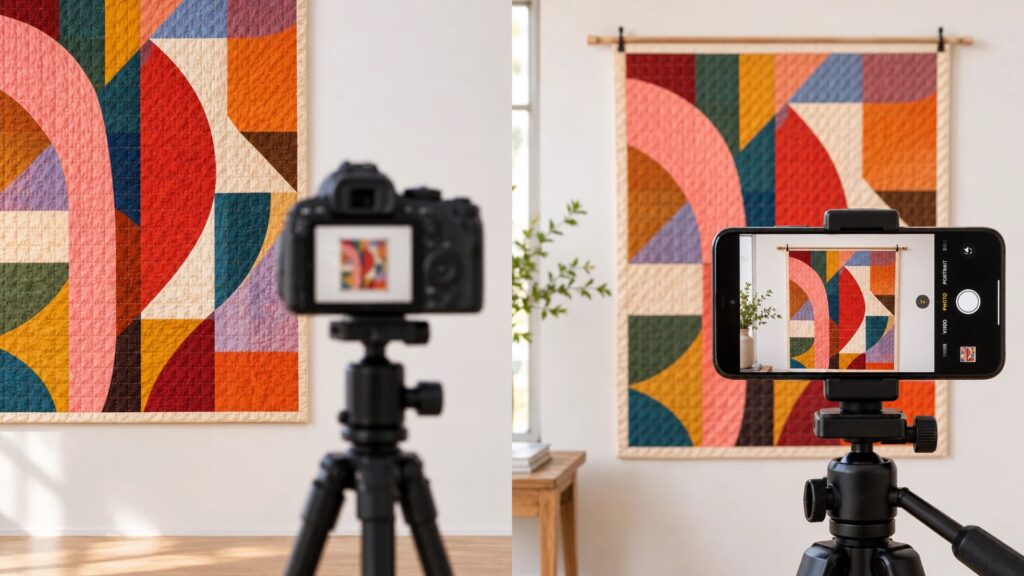
A quilt that is hanging crooked or photographed from an angle can look distorted, and a jury has no way to know that it isn’t. AQS recommends hanging the quilt from a curtain rod so it falls freely, and shooting from directly in front, at a 90 degree angle to the center of the quilt. Shooting from above or below makes the quilt look unsquare. Quilting Daily puts it more bluntly: “No trapezoids, please.”
The other points that come up are practical:
- Set a tripod on a flat surface if you use one, to avoid distortion.
- Show all four edges of the quilt, including the binding or facing.
- Hide the hangers, rods and clips so nothing distracts from the quilt. SAQA notes that visible hangers can make an image unusable for a catalog or gallery.
- Keep fingers, folded corners, plants and anything else out of the frame.
A Phone or a Camera
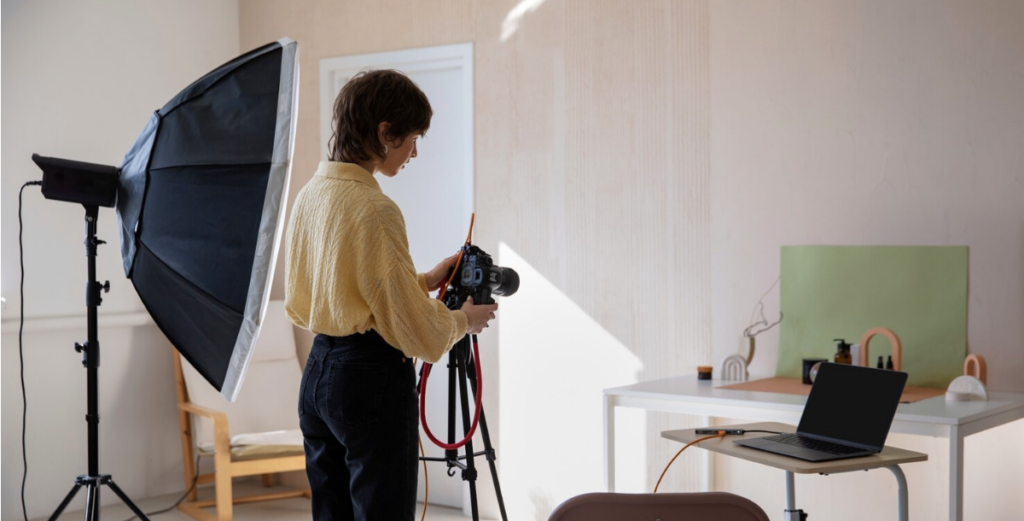
You don’t need special equipment. SAQA says a digital camera and a smartphone camera both work, and that a tripod is optional but can help if your hands aren’t steady. AQS adds two points about the camera itself: set it to its highest quality setting, because larger files are acceptable, and make sure it is in focus. More megapixels generally give a better photo. The one thing the sources won’t let you skip is focus, since a blurry image can’t be judged at all.
When It’s Worth Hiring a Photographer
Photography is part of how a piece is presented, and professional photographs come up in the pricing and exhibition advice I read as well. In Judith Trager’s article on pricing your artwork, she lists unprofessional presentation, including work that isn’t professionally photographed, among the mistakes artists make. For a piece you are submitting to a major show, or one you plan to sell or use in a book or catalog, a professional photographer may be worth the cost. For everyday entries, the steps above will take you a long way.
Detail Shots
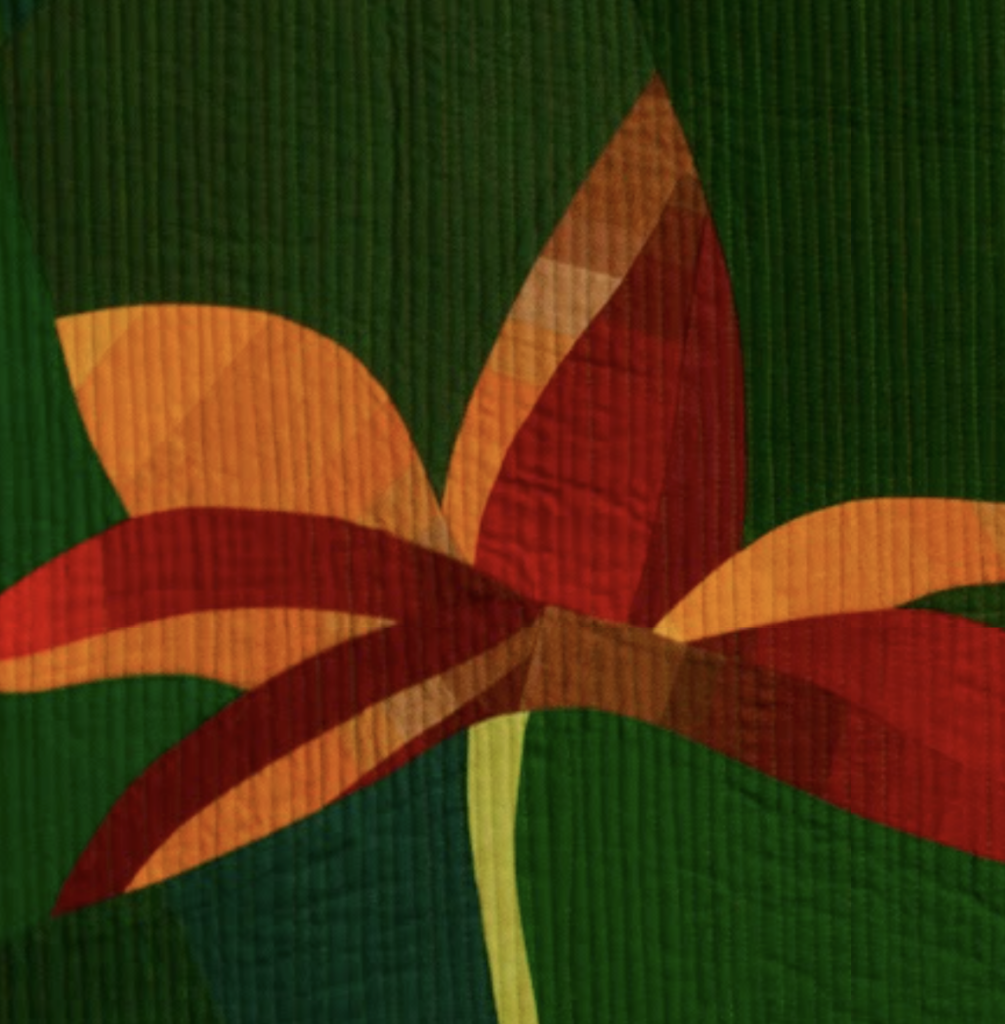
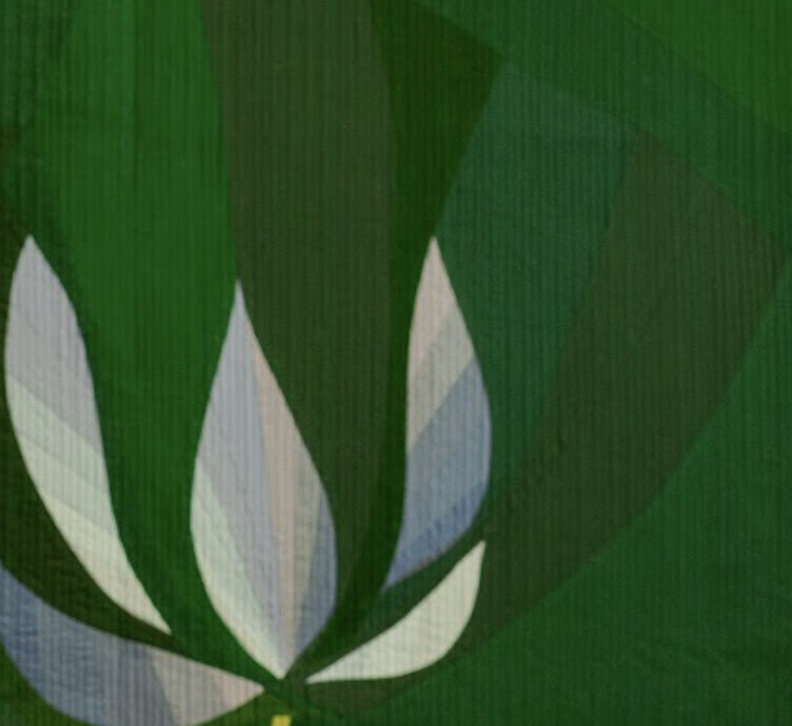
Many calls for entry ask for a detail photo as well as a full view, and it is an opportunity. AQS suggests choosing a 12-inch section of your favorite part of the quilt, and cautions not to stand so close that the camera can’t focus. Quilting Daily suggests zooming in on a favorite element or a well-executed technique.
If the quilting lines or the piecing are part of what makes a quilt work, a detail shot is where a juror can see them up close.
This is how I do it in my own studio. I photograph my quilts on my design wall. First I press the quilt really well, and then I go over it with a lint roller so there is nothing on the surface and it is completely clean. I light it with a studio light and take the photos with my cell phone, at a very good resolution. The detail photos happen in the same setup: I photograph the places where seams match, the quilting stitches, and any hand stitching. For me, the three things that matter most are the light, how flat the quilt hangs, and having no shadows.
Editing: Only to Match Real Life
SAQA is cautious about editing. It says to make only the changes needed so the photo matches the artwork’s appearance in real life, and the tools it mentions are for color adjustment, rotation and background removal. The goal is a photo that looks like the quilt, not a more vivid version of it.
Every Show Has Its Own Specifications
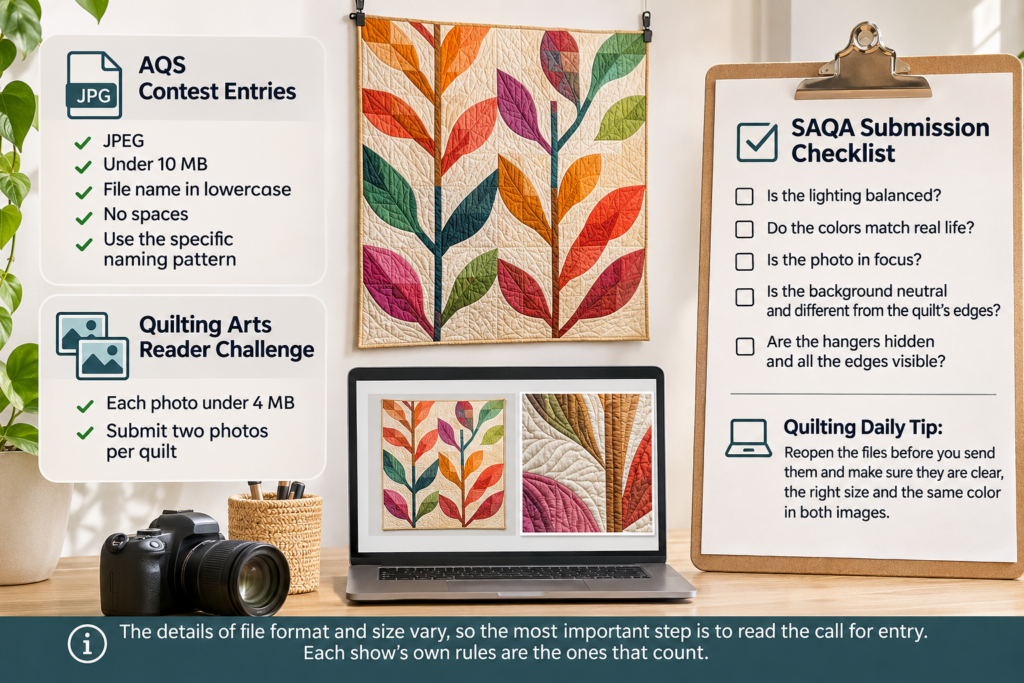
The details of file format and size vary, so the most important step is to read the call for entry. In its guidance for contest entries, AQS asks for JPEGs under 10 MB, saved in lowercase with no spaces and with a specific naming pattern. A Quilting Arts reader challenge, by contrast, suggests keeping each photo under 4 MB and submitting two photos per quilt. Neither is wrong, and each show’s own rules are the ones that count.
SAQA’s checklist is a good last step before you submit. Is the lighting balanced? Do the colors match real life? Is the photo in focus? Is the background neutral and different from the quilt’s edges? Are the hangers hidden and all the edges visible? Quilting Daily adds one more: reopen the files before you send them and make sure they are clear, the right size and the same color in both images.
Rejection and Photos
If you do get a no, I would not assume it was the photograph. In my post about being rejected by quilt shows, I wrote about how much of a jury’s decision comes from fit and from the other work submitted that year, which is out of your hands. Photography is one of the few parts of a submission that is in your hands, which is why it’s worth doing carefully. And if you’re still choosing where to apply, my calendar of international quilt shows may help.
I’m curious about your own routine. Where do you photograph your quilts, and what has made the biggest difference to your photos?